


Here the black plexi has the protective paper removed and the clear plexi shelves are dry fit in place. I chose to cover the shelf supports with aluminum tape rather than paint them. This will add a reflective quality to the mirrors when the LED lights shine down from above the shelves.

Here the completed back corner bar has been dry fit in place. The ceiling over the bar has been attached to the 2 side walls and you can see the actual bar in the far right of the picture. I confess I am not happy with the arches in the back bar as they gave me considerable fits. However, rather than smash this section to bits and start over, I have decided to live with this slight imperfection as the real star of this show is the bar and the ceiling over the bar.

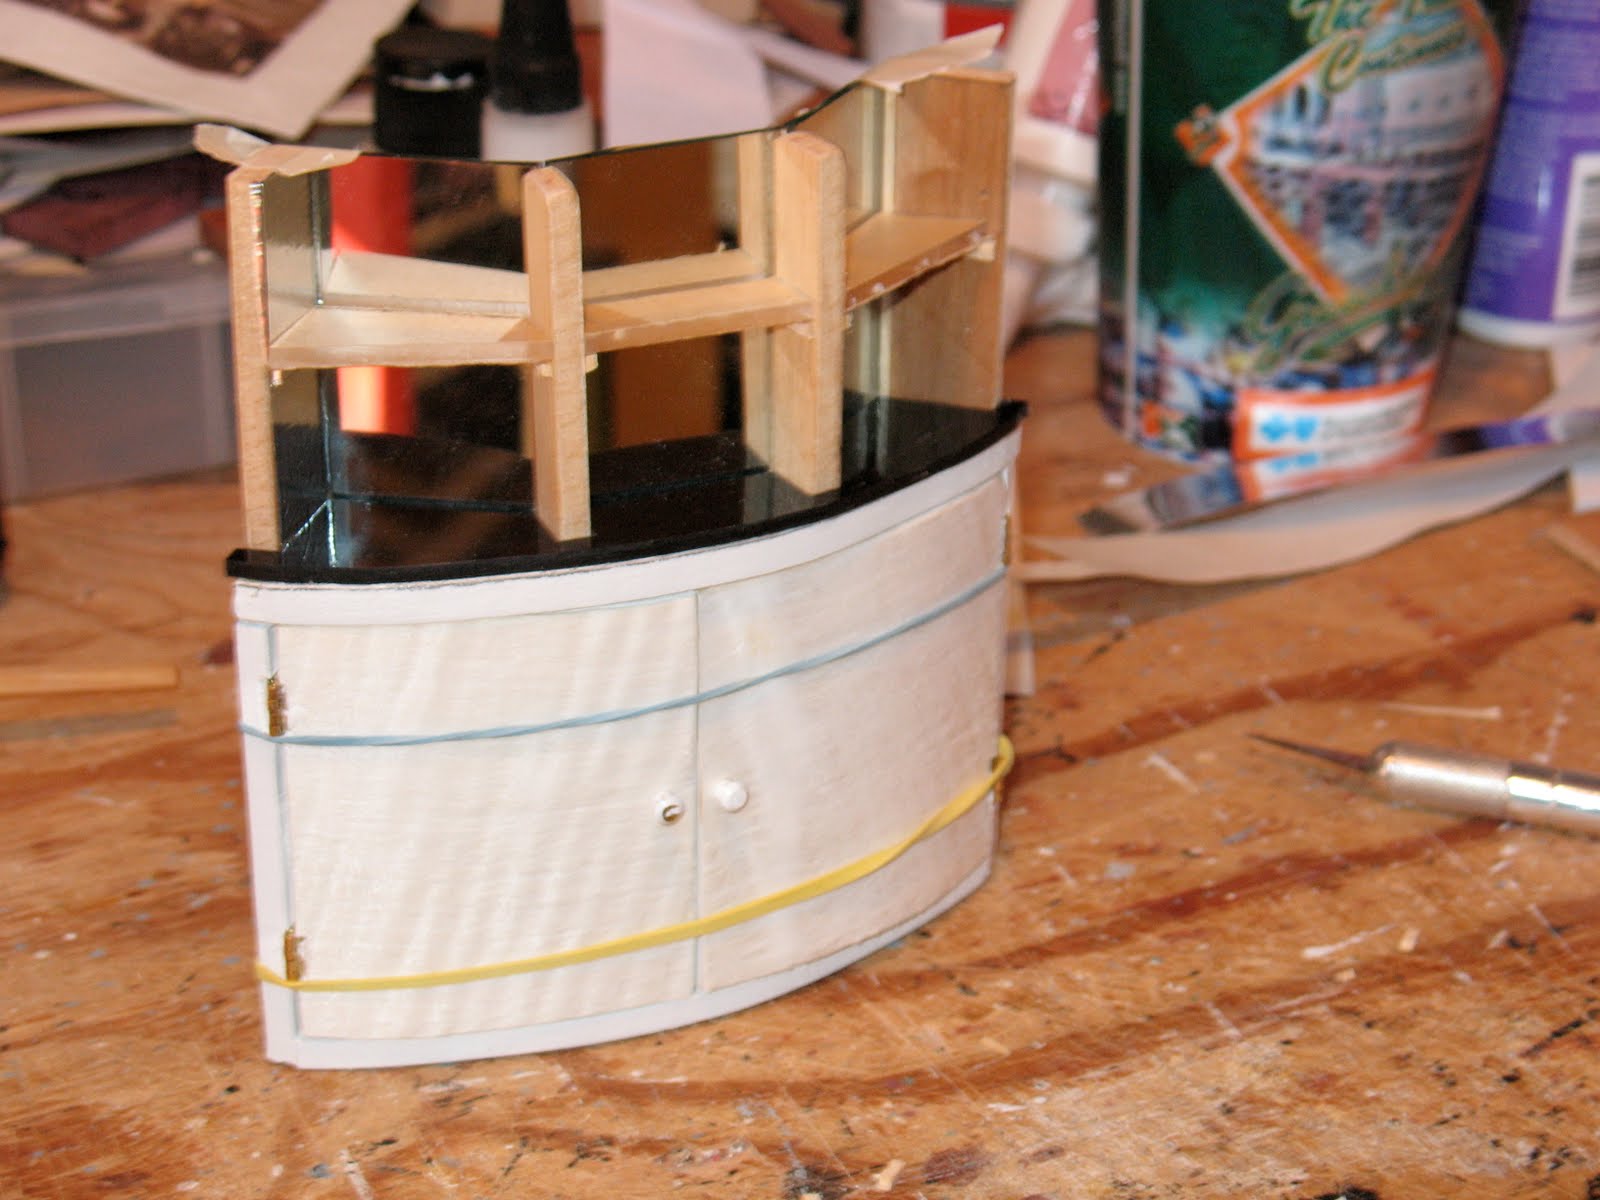
Here the laminate is going on the bar front. Once it is all in place, I will install the bar top and work on the footrest that will go around the base of the bar on this front side. My next focus will be the completed ceiling and lighting, the floor behind the bar and determine how I want to treat the walls. Hmmmmmmm
Thanks for peeking in! Tell next time!

Richard, it looks great. :) I see no imperfections what so ever and that is excellent use of the exacto blade. ;)
ReplyDeleteThanks Dale! Won't be long I'll be needing those bar stool seats!
ReplyDeleteNo pressure though! LOL!
I just hope, you only want me to make the seats. ;) lol
ReplyDeleteLOL! Just the seats Dale! Thanks, you are the best!
ReplyDelete