I have been deeply engrossed in the making of miniature modern, Art Deco, and Frank Lloyd Wright inspired furniture for the past 2 years. Along the way I did two Art Deco inspired room boxes. About 4 years ago I purchased the Montclair Kit by Real Good Toys on a 50% off sale! Since then the 4 boxes have been sitting on a shelf waiting to be opened. Well, my friends, two weeks ago, the boxes were opened and I am off to the races!
I went all the way and acquired the two additions that go on either side of the main house. The two story addition will house the kitchen downstairs and the master bathroom upstairs. The Conservatory will house a large garden room off of the main living room to take advantage of all the light the walls of windows will let in.
Here a shot of a few of the pieces out of the box. I was relieved that after four years there were no missing or damaged parts!
OK, on to some assembly........
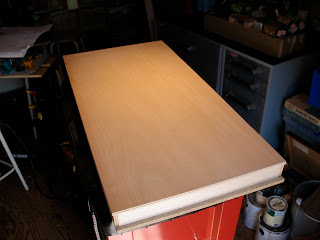
First the foundation. In the first shot, the plywood you see underneath the framing is not floor, it is a spare piece of plywood I am using to expand my work spot for the house. The second shot shows the floor going on over the framing. It is a long journey from here but at last it is started!
Here the first wall is going up. The door will be the entrance between the dining room in the main house and the kitchen in the lower floor of the two story addition. The braces are in place to insure vertical alignment at 90 degrees.
Now the other wall and the front are in place. Notice the main entrance in the center and the symmetry of the windows on either side.
A quick shot of the front of the main house. One of many nice things about RGT kits is the clapboard siding is already milled into the outer walls. A nice detail and a big time saver!
Here you can see I have carved two wire slots to run electric to two wall sconces. These will be filled in with wood putty and sanded smooth before the wallpaper goes up. Also, you can see the line I have marked for the chair rail height so as to not bring the wallpaper down so far.
Next time, a fireplace wall with a bump out to add architectural interest to the dining room.
Thanks for stopping by to Minibydesign!


